Choosing the right LED Power Supply is not a minor purchasing decision. It affects brightness, safety, energy use, and product life. A poorly matched driver may create flicker, audible noise, overheating, or early LED failure. Sometimes, the warning appears only after installation.
The International Energy Agency reports that lighting uses about 15% of global electricity. That figure makes efficient power conversion increasingly important. The U.S. Department of Energy’s 2019 Energy Savings Forecast projected that LED lighting could reach 86% of installed lighting stock by 2035. It also estimated substantial annual electricity savings. These forecasts describe the lamp, but the driver remains critical. A high-efficiency LED cannot perform well with unstable current.
Dr. Roland Haitz, a pioneer of solid-state lighting, observed, “Every ten years, the cost per lumen falls by a factor of ten, while the light generated by an LED package increases by a factor of twenty.” His insight still matters when evaluating power supplies. Better LEDs demand better electrical control. Look beyond the label. Check output voltage, current tolerance, power factor, efficiency, dimming compatibility, ingress protection, and thermal performance. A 24-volt strip may look simple on a workbench, yet a long cable can create voltage drop and uneven light. A neat wattage match can still fail.
The ten tips ahead combine manufacturer specifications, field experience, and recognized industry guidance. They cannot remove every uncertainty. They can reduce avoidable mistakes. Allow extra capacity, inspect the installation environment, and question impressive claims without test evidence. Reliability begins before the power supply is switched on.
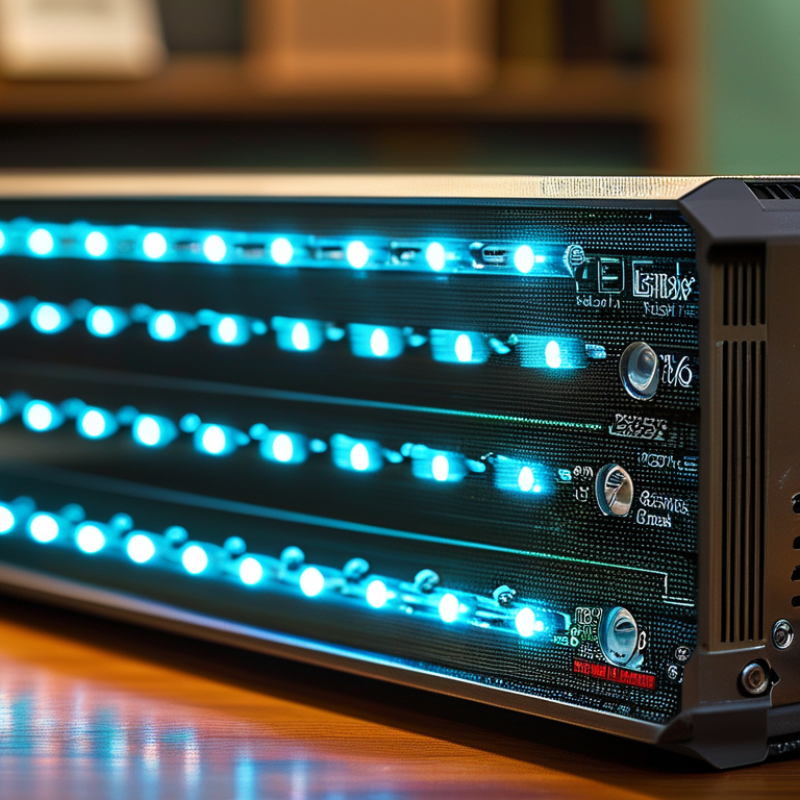
An LED power supply converts incoming electricity into the stable output an LED system needs. It controls voltage, current, or both, depending on the lighting design. A mismatched supply can cause flickering, dim output, buzzing, or early component failure. Small errors matter.
Check the LED load’s voltage before comparing wattage. A 24-volt LED strip requires a 24-volt constant-voltage supply, while some individual LEDs need constant-current control. These systems are not interchangeable.
In practical installations, I measure the cable length and total load before selecting a unit. Add reasonable capacity above the calculated load, but avoid excessive oversizing. An oversized supply may operate inefficiently at very light loads. Leave room.
For outdoor projects, inspect the enclosure rating, cable glands, and moisture protection. Indoor units still need airflow, especially inside shallow cabinets. Heat is the warning. My early mistake was focusing on rated output while ignoring ventilation around the enclosure. The lights worked, but the casing became noticeably hot after several hours.
Dimming also deserves attention; the controller, power supply, and LEDs must use compatible signals. Look for clear electrical specifications, tested safety documentation, and installation instructions from reliable sources.
If the wiring method is uncertain, consult a qualified electrician rather than guessing. A supply should be quiet, stable, and accessible for future inspection. Testing the system at full brightness for several hours can reveal voltage drop, loose connections, or unexpected heat before regular use.
Tip: Match the power supply’s output voltage exactly to the LED’s rated voltage. A 12-volt LED system needs a stable 12-volt supply, not a higher unit “for extra power.” Excess voltage can create heat, uneven brightness, or early failure. Check the label, installation guide, and measured output before connecting anything.
Tip: Calculate the required current from the LEDs’ total load. For example, a 24-volt strip using 72 watts needs 3 amps. Add practical headroom, usually 20% to 30%, so the supply is not working at its limit. I once chose a supply by wattage alone and overlooked current capacity. It ran, but the cables became warmer than expected. That mistake changed my testing routine.
Tip: Confirm the wattage rating, connector polarity, and operating environment. A supply rated at 100 watts should not continuously power a 100-watt load. A 72-watt load gives more reasonable breathing room. Measure the cable length too, because long, thin wires can cause voltage drop and dim the far end. Keep the supply ventilated, especially inside a cabinet. Do not hide it under insulation.
For installations in damp or dusty areas, verify the enclosure rating and follow local electrical requirements. If the LEDs flicker, shut the system down and recheck voltage, current, polarity, and connections. Small details matter.
Choosing the correct LED power supply starts with identifying the load type. Constant-voltage LEDs, such as 12V or 24V strips, need a stable voltage source. The supply should match the LED rating exactly. Calculate the total load from length and watts per meter, then allow roughly 20% spare capacity. Long cable runs may cause voltage drop. Measure twice. That small detail matters.
Constant-current drivers suit high-power LEDs and COB modules that specify a current, such as 350mA or 700mA. The driver adjusts voltage while maintaining the required current. Check its output voltage range against the LED’s forward voltage. A mismatch can create flickering, excessive heat, or early failure. Never replace a constant-current driver with a constant-voltage unit because the connectors appear identical.
Read the LED data sheet, not just the product label. Confirm dimming compatibility, operating temperature, enclosure protection, and recognized electrical safety testing. For outdoor installations, moisture resistance and cable sealing deserve close attention. In practical installations, a clean wattage calculation can still miss startup behavior or heat buildup inside a small enclosure. I have found that choosing extra capacity is helpful, but excessive capacity does not correct the wrong output type. Check polarity with a meter before energizing the circuit, and inspect every connection after the first hour of operation.
Choose the Appropriate Constant-Voltage or Constant-Current Type
Representative LED design examples show the typical selection principle: constant-voltage supplies are used when the LED product includes current-limiting components, such as 12 V or 24 V LED strips. Constant-current supplies are used for LEDs or arrays that require a controlled operating current. The values are based on common nominal configurations; always verify the LED manufacturer's voltage, current, power, and wiring requirements before selecting a supply.
Evaluate Efficiency, Dimming, Safety, and Environmental Protection
Choosing the right LED power supply starts with efficiency, not just wattage. Check its efficiency at your expected load, because peak ratings can mislead. A supply running near 80–90% load usually performs better than one operating far below capacity. Watch the heat. Excessive warmth can shorten component life. Match the output voltage precisely with the LED system. Leave reasonable capacity for startup surges and future additions. However, excessive oversizing may waste energy during light operation. Real installations are rarely perfect. Measure when possible.
Confirm the dimming method before buying. Some systems use pulse-width control, while others require a variable control signal. Test the lowest dimming level for flicker, buzzing, or sudden shutdown. Ask whether the supply restarts smoothly after a power interruption. Keep control wiring separated from noisy power cables. In field work, I have seen “compatible” dimmers produce visible flicker. Documentation matters more than assumptions. Check wiring diagrams, minimum load requirements, and operating temperature limits.
Safety requires more than a certification mark. Verify protection against short circuits, overloads, overheating, and abnormal input voltage. Use a product supported by clear test reports and recognized safety standards. Select suitable ingress protection for dust, moisture, or outdoor exposure. Environmental protection also includes recyclable housing materials and restricted hazardous substances. Choose a supply rated for the actual ambient temperature, especially inside sealed fixtures. Inspect terminals and cable glands before energizing the system. Small details matter. Recheck the installation after several weeks, because early heat or flicker can reveal problems missed during commissioning.
10 Tips for Choosing the Right LED Power Supply
Verify Compatibility, Installation Needs, and Long-Term Reliability
Start by matching the supply’s output voltage to the LED system exactly. A 12-volt strip needs a 12-volt supply, not an approximate rating. Check whether the installation requires constant voltage or constant current. Calculate the total load, then allow roughly 20 percent extra capacity for stable operation. Dimming compatibility matters too. A compatible controller prevents flicker, buzzing, and uneven brightness.
Inspect the installation environment before purchasing. Measure the enclosure, cable route, and available ventilation. A supply hidden above a warm ceiling may need a higher temperature rating. Outdoor locations require suitable moisture protection and secure cable entries. Keep wiring short when possible. Long runs can create voltage drop, especially with low-voltage LED systems. Use correctly sized conductors and protect connections from accidental contact.
Long-term reliability depends on more than wattage. Look for clear electrical specifications, recognized safety testing, overload protection, and practical warranty terms. Check the operating temperature range and expected service life. During commissioning, I measure voltage at both the supply and the farthest LED point. This often reveals problems that a quick visual inspection misses. I once trusted a generous power rating and overlooked poor ventilation. The system worked, but heat shortened its useful life. That mistake still influences my checks. Leave access for future replacement. Good planning is rarely obvious after the ceiling is closed.
| No. | Selection Dimension | What to Verify | Why It Matters | Recommended Practice |
|---|---|---|---|---|
| 1 | Output Voltage Match | The power supply output voltage must match the LED load rating, such as 5 V, 12 V, or 24 V DC. Exact match required | An incorrect voltage can cause flickering, reduced light output, overheating, or permanent LED damage. | Confirm the LED module or strip label and select a supply with the same nominal output voltage. |
| 2 | Load Wattage and Capacity | Calculate total load power using: Total watts = watts per meter × length. Select a supply with approximately 20–30% spare capacity. | Reserve capacity reduces continuous stress and allows for normal variations in LED power consumption. | For a 60 W LED load, consider a supply rated for about 72–78 W or more, provided the voltage is correct. |
| 3 | Constant-Voltage or Constant-Current Type | Constant-voltage supplies are used with voltage-rated LED strips and modules. Constant-current drivers are used with LEDs specified by current and forward-voltage requirements. | These two supply types regulate power differently and are not interchangeable in many applications. | Match the driver type to the LED product datasheet rather than selecting by wattage alone. |
| 4 | Input Voltage and Electrical Frequency | Verify compatibility with the available mains supply, such as 100–240 V AC and the applicable 50/60 Hz frequency. | Input incompatibility may cause failure, unsafe operation, nuisance tripping, or reduced service life. | Check the input range on the nameplate and confirm that it matches the installation location. |
| 5 | Efficiency and Standby Consumption | Compare the rated efficiency and no-load or standby power information. Higher efficiency generally means less input energy becomes heat. | Lower heat generation can improve energy performance and reduce thermal stress on internal components. | Choose a supply with documented efficiency data and avoid leaving oversized supplies energized without a connected load unless permitted by the instructions. |
| 6 | Dimming and Control Compatibility | Confirm whether the system requires phase-cut dimming, 0–10 V, PWM, resistance-based control, DALI, or on/off switching. | A dimmer and power supply using incompatible control methods may produce flicker, limited dimming range, audible noise, or shutdown. | Match the control interface, minimum load requirement, and dimming range with the controller and LED load. |
| 7 | Indoor or Outdoor Installation Rating | For exposed locations, verify an enclosure rating suitable for the environment, such as protection against solid particles, rain, or water jets where required. | Moisture and dust can cause corrosion, insulation failure, short circuits, and premature breakdown. | Install outdoor-rated equipment in a suitable position and protect cable entries with correctly sealed glands or fittings. |
| 8 | Ambient Temperature and Thermal Derating | Check the specified operating temperature and derating curve. Enclosed spaces, direct sunlight, and poor ventilation can raise internal temperature. | Excessive heat accelerates component aging and may reduce the available output power or service life. | Provide ventilation, avoid covering the enclosure, and reduce the load when the installation temperature exceeds the full-load rating. |
| 9 | Protection and Safety Features | Look for documented protection against short circuit, overload, overvoltage, and overheating, along with applicable electrical safety approvals. | Protective functions help limit damage during wiring faults, abnormal loads, and thermal events. | Review the technical datasheet and installation instructions instead of relying only on marketing descriptions. |
| 10 | Wiring, Installation, and Long-Term Reliability | Verify terminal capacity, cable polarity, grounding requirements, mounting clearance, accessibility, and the stated warranty or service information. | Correct installation prevents voltage drop, loose connections, overheating, electric shock hazards, and avoidable maintenance problems. | Use appropriately sized conductors, observe polarity, secure all connections, provide strain relief, and have mains wiring completed by a qualified electrician. |
It converts incoming electricity into stable voltage or current for LED lighting. Unstable power may cause flicker, buzzing, or early failure.
Match the output voltage exactly to the LED rating. A 12-volt system needs 12 volts, not a higher supply.
Use constant voltage for compatible LED strips. Some individual LEDs require constant current. These systems are not interchangeable.
Calculate the total load, then add about 20% to 30% headroom. A 72-watt load suits a supply with useful extra capacity.
It can operate inefficiently under very light loads. More capacity is not automatically better. I once focused only on wattage.
Long, thin cables can create voltage drop. The far end may look dimmer, like a fading line of light.
Confirm that the controller, power supply, and LEDs use compatible signals. Test the lowest brightness for flicker, buzzing, or shutdown.
Check the enclosure rating, cable glands, and moisture protection. Follow local electrical requirements. Do not place the unit under insulation.
Run the system at full brightness for several hours. Check the casing, terminals, and nearby air space for unusual heat.
Shut the system down and recheck voltage, current, polarity, connections, and dimming compatibility. My earlier assumption was not careful enough.
Choosing the right LED Power Supply is essential for achieving stable performance, safe operation, and a long service life from an LED lighting system. Begin by understanding the LEDs’ electrical requirements, including voltage, current, and total wattage, then select a power supply that matches these specifications while providing a suitable safety margin. It is also important to determine whether the system requires a constant-voltage or constant-current supply, as using the wrong type may cause poor performance or damage.
When comparing options, consider efficiency, dimming capability, protection against overloads, short circuits, moisture, and excessive heat. Confirm that the power supply is compatible with the lighting controls, wiring, connectors, and installation environment. Practical factors such as indoor or outdoor use, ventilation, mounting space, and ease of maintenance should also be evaluated. Finally, prioritize dependable construction and appropriate certifications to support consistent operation and reduce the risk of premature failure over time.
